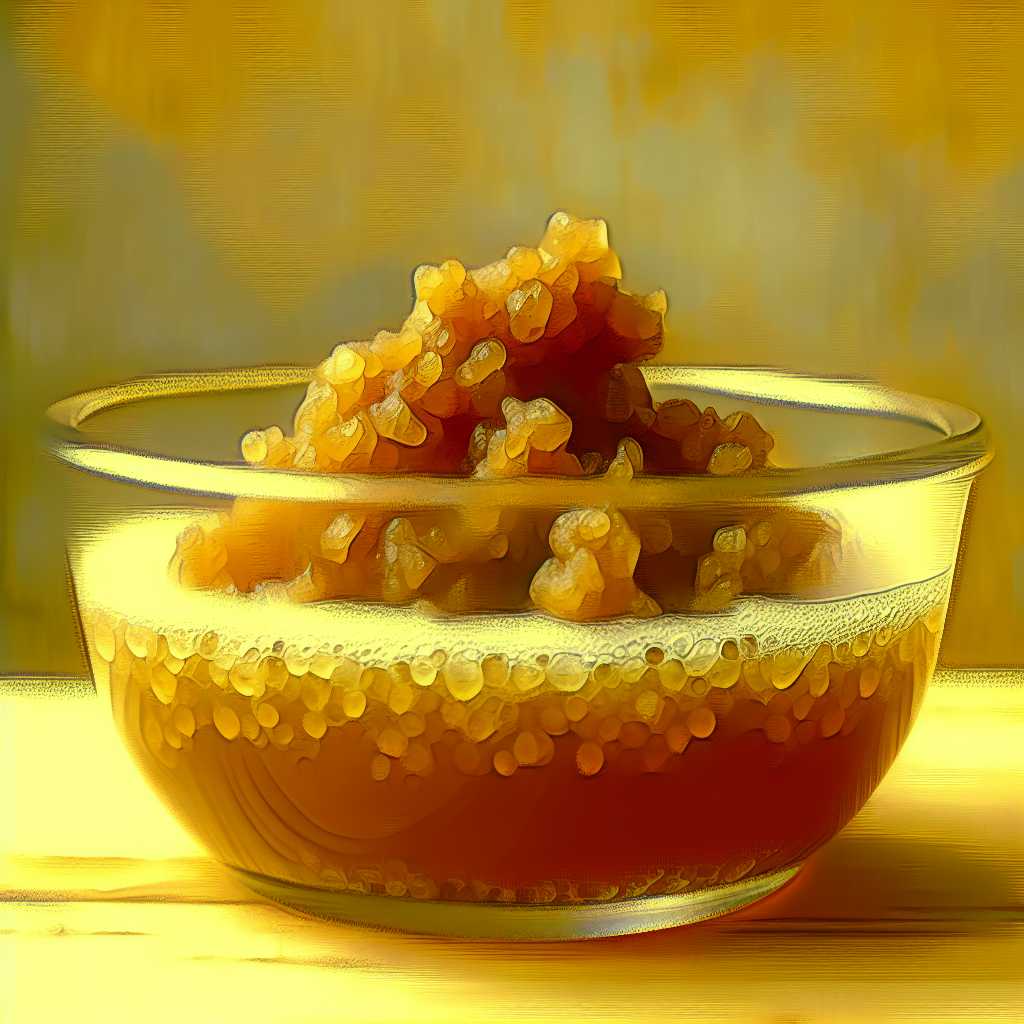
Delicious Kombucha Recipe: How to Make Your Own Scoby

Delicious Kombucha Recipe: How to Make Your Own Scoby
Kombucha is a delicious and refreshing fermented beverage that has gained popularity in recent years due to its potential health benefits and unique taste. While it is readily available for purchase at many health food stores and supermarkets, there is something special about brewing your own kombucha at home. Not only is it a fun and rewarding process, but it also allows you to experiment with different flavors and customize the brew to your liking. In this article, we will walk you through the process of making your own delicious kombucha, including creating your own SCOBY (symbiotic culture of bacteria and yeast) and following a step-by-step recipe for brewing the perfect batch. Let’s dive in and explore the wonderful world of homemade kombucha.
Creating Your Own SCOBY
The first step in making your own kombucha is to create a SCOBY, which is the essential ingredient for fermenting the tea. While you can purchase a SCOBY from a reputable source, you can also grow your own at home with just a few simple ingredients. Here’s what you’ll need:
– 7 cups of unchlorinated water
– 1/2 cup of white sugar
– 4 bags of black tea
– 2 cups of unflavored, unpasteurized kombucha (store-bought or from a previous batch)
To create your SCOBY, follow these steps:
1. Bring the water to a boil in a large pot.
2. Remove the pot from the heat and add the sugar, stirring until completely dissolved.
3. Add the tea bags and allow them to steep until the water has cooled to room temperature.
4. Once the tea has cooled, remove the tea bags and pour the tea into a large glass jar.
5. Add the unflavored, unpasteurized kombucha to the jar and give it a gentle stir to combine with the tea.
6. Cover the jar with a clean cloth or paper towel and secure it with a rubber band to keep out any contaminants.
7. Place the jar in a warm, dark place and allow it to sit undisturbed for 1-4 weeks, until a SCOBY forms on the surface of the liquid.
After 1-4 weeks, you should have a healthy, fully formed SCOBY ready to use for brewing your kombucha. If you notice any signs of mold or unusual discoloration on the SCOBY, it is best to discard it and start over with fresh ingredients to ensure the quality and safety of your kombucha.
Brewing Your Delicious Kombucha
Now that you have your homemade SCOBY, it’s time to start brewing your own delicious kombucha. Here’s a simple recipe to get you started:
Ingredients:
– 14 cups of unchlorinated water
– 1 cup of white sugar
– 8 bags of black tea
– 2 cups of unflavored, unpasteurized kombucha
– 1 SCOBY
Instructions:
1. Bring 4 cups of water to a boil in a large pot.
2. Remove the pot from the heat and add the sugar, stirring until completely dissolved.
3. Add the tea bags and allow them to steep until the water has cooled to room temperature.
4. Once the tea has cooled, remove the tea bags and pour the tea into a large glass jar.
5. Add the remaining 10 cups of water to the jar and mix to combine with the tea.
6. Add the unflavored, unpasteurized kombucha to the jar and give it a gentle stir to combine with the tea.
7. Gently place the SCOBY on the surface of the liquid.
8. Cover the jar with a clean cloth or paper towel and secure it with a rubber band to keep out any contaminants.
9. Place the jar in a warm, dark place and allow it to sit undisturbed for 7-14 days, until the kombucha reaches the desired level of fermentation and tartness.
After 7-14 days, your kombucha should be ready to enjoy. You can taste it along the way to monitor its progress and determine when it has reached the perfect balance of sweetness and tartness for your liking. Once it’s ready, you can either enjoy it as is or experiment with different flavorings by adding fresh fruit, herbs, or spices to infuse the kombucha with unique and delicious flavors.
Storing and Serving Your Homemade Kombucha
After the fermentation process is complete, it’s time to store and serve your homemade kombucha. Here are a few tips to ensure that your kombucha stays fresh and delicious:
– Transfer the finished kombucha to clean glass bottles with airtight lids for storage. This will help maintain the carbonation and flavor of the kombucha.
– Store the bottles in the refrigerator to slow down the fermentation process and preserve the quality of the kombucha.
– When serving the kombucha, pour it into a glass and avoid disturbing the sediment at the bottom of the bottle, as this can affect the taste and texture of the kombucha.
With these simple tips, you can enjoy your homemade kombucha at its best, savoring the natural effervescence and delightful flavors that you have created with your own hands.
In conclusion, making your own delicious kombucha at home is a fun and rewarding experience that allows you to explore the world of fermentation and create a beverage that is truly unique to your tastes. By following the steps outlined in this article, you can grow your own SCOBY, brew your own kombucha, and enjoy the satisfying results of your efforts. Whether you’re a seasoned kombucha enthusiast or a curious beginner, there’s no better time to start brewing your own kombucha and discovering the joys of homemade fermentation. Cheers to your brewing adventure!


0 Comments