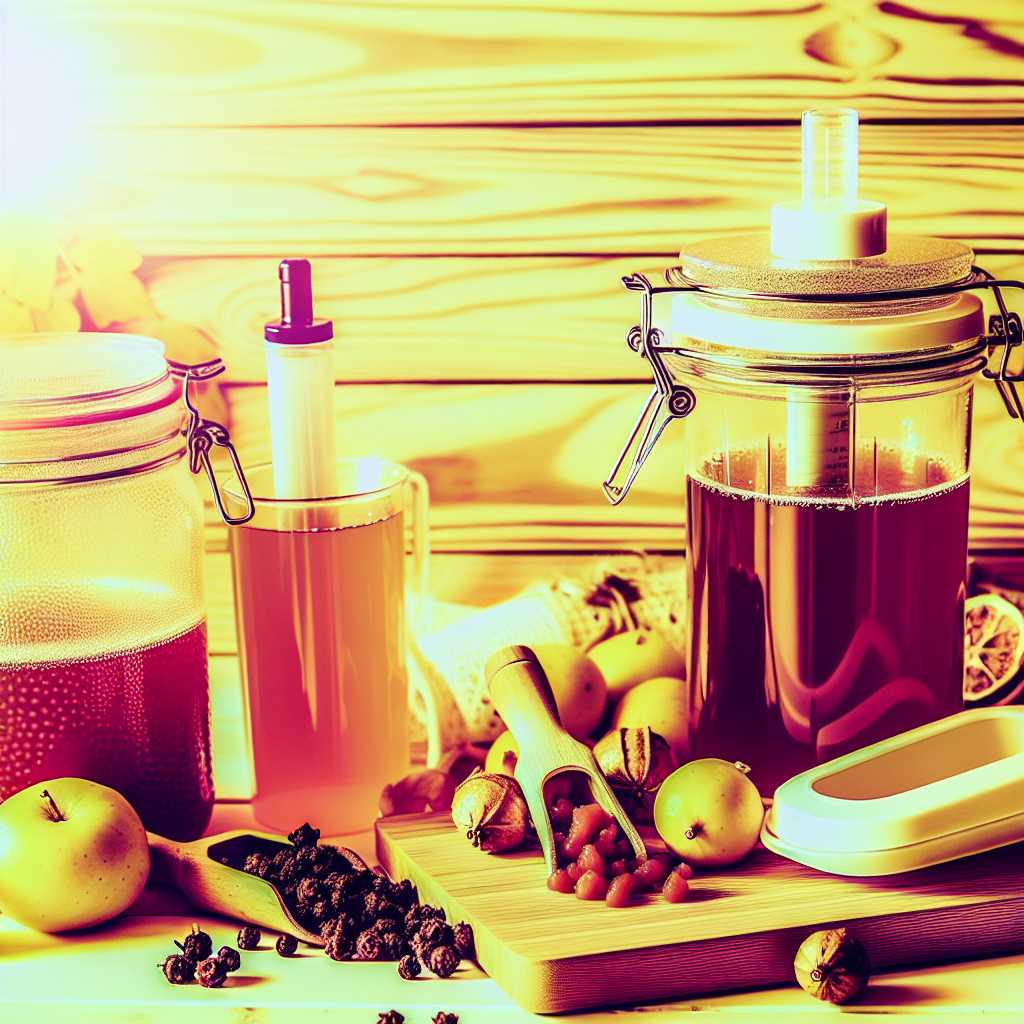
The Essential Kombucha Brewing Supplies You Need to Make Your Own Delicious Batch

The Essential Kombucha Brewing Supplies You Need to Make Your Own Delicious Batch
Kombucha, the delicious and fizzy fermented tea drink that has been enjoyed for centuries, has gained popularity in recent years due to its potential health benefits and refreshing taste. While store-bought kombucha is readily available, many enthusiasts are keen to make their own batches at home. Not only is home brewing a fun and rewarding experience, but it also allows for experimentation with different flavors and brewing techniques.
If you’re looking to start brewing your own kombucha, there are a few essential supplies that you’ll need to get started. From brewing vessels to starter cultures, having the right equipment and ingredients is crucial to producing a high-quality batch of kombucha. In this article, we’ll take a look at some of the essential kombucha brewing supplies that you’ll need to make your own delicious batch at home.
1. Brewing Vessel
The first and most crucial piece of equipment you’ll need for brewing kombucha is a brewing vessel. This is where the initial fermentation process will take place, and it’s important to choose a vessel that is large enough to accommodate your brewing batch. Glass jars are a popular choice for brewing vessels, as they are non-reactive and easy to clean. Look for a vessel that has a wide opening, which will make it easier to add and remove ingredients during the brewing process.
2. Scoby
The next essential ingredient for brewing kombucha is a scoby, which stands for “symbiotic culture of bacteria and yeast.” This rubbery disc-shaped culture is responsible for fermenting the tea and turning it into kombucha. If you don’t have a scoby already, you can obtain one from a fellow brewer or purchase a starter kit that includes a scoby and some starter liquid. It’s important to handle the scoby with clean hands and to avoid using metal utensils when working with it, as metal can react with the culture and affect the flavor of the kombucha.
3. Starter Liquid
In addition to a scoby, you’ll also need some starter liquid to kickstart the fermentation process. Starter liquid is simply some already brewed and fermented kombucha that contains active cultures of bacteria and yeast. If you’re using a scoby from a friend or a kit, it will likely come with some starter liquid. If not, you can use store-bought kombucha as a substitute. It’s important to use unflavored and unpasteurized kombucha as a starter liquid, as pasteurization can kill the active cultures.
4. Tea and Sugar
Another essential ingredient for brewing kombucha is tea. Black tea is the most commonly used type of tea for kombucha, as it provides the nutrients and caffeine that the scoby needs to thrive. However, you can also experiment with other types of tea, such as green tea or oolong tea, to create different flavor profiles. Additionally, you’ll need sugar to feed the scoby during the fermentation process. While it may seem counterintuitive to add sugar to a healthy drink, the sugar is actually consumed by the scoby during fermentation, resulting in a low-sugar end product.
5. Fermentation Cover
During the fermentation process, it’s important to cover your brewing vessel with a breathable but secure cover that will protect the kombucha from contaminants while allowing air to flow in and out. A coffee filter, paper towel, or tightly woven cloth secured with a rubber band can work well as a fermentation cover. Avoid using airtight seals, as they can prevent the flow of oxygen that the scoby needs to ferment the tea.
6. Bottles for Second Fermentation
Once your kombucha has completed its initial fermentation, you’ll need bottles for the second fermentation process, during which the kombucha will become carbonated. Glass bottles with swing-top lids or screw-on caps work well for this purpose, as they can hold the carbonation produced during the second fermentation. It’s important to use strong, durable bottles that can withstand the pressure of carbonation, as weaker bottles can explode under the pressure.
7. pH Test Strips
Monitoring the pH of your kombucha throughout the brewing process is important for ensuring that the fermentation is progressing as it should. pH test strips are an essential tool for keeping an eye on the acidity of your kombucha. The desired pH range for kombucha is typically between 2.5 and 3.5, which is acidic enough to prevent the growth of harmful bacteria while allowing the beneficial bacteria and yeast to thrive.
8. Funnel and Strainer
When it comes time to bottle your kombucha, a funnel and strainer can be incredibly useful for transferring the liquid from the brewing vessel into the bottles. Using a strainer can help remove any solid pieces of the scoby or sediment that may have formed during the fermentation process, resulting in a clearer end product. Additionally, a funnel can help minimize spills and make the bottling process more efficient.
9. Flavoring Ingredients
While not essential for the brewing process, flavoring ingredients can add a fun and personalized touch to your homemade kombucha. Once the second fermentation is complete, you can add fruits, herbs, spices, or other flavorings to your kombucha to create different flavor combinations. Experiment with different ingredients and ratios to find the flavor profiles that you enjoy the most.
In conclusion, having the right supplies is key to successfully brewing your own batch of delicious kombucha at home. By investing in the essential brewing supplies such as a brewing vessel, scoby, starter liquid, tea, sugar, fermentation cover, bottles for second fermentation, pH test strips, funnel and strainer, and flavoring ingredients, you’ll be well-equipped to start your home brewing journey. With the right equipment and ingredients, you can experiment with different flavors, create a healthier alternative to store-bought kombucha, and enjoy the satisfaction of making your own probiotic-rich beverage. So gather your supplies, get brewing, and raise a glass to your homemade kombucha success!
[elementor-template id=”430″]
[elementor-template id=”433″]


0 Comments