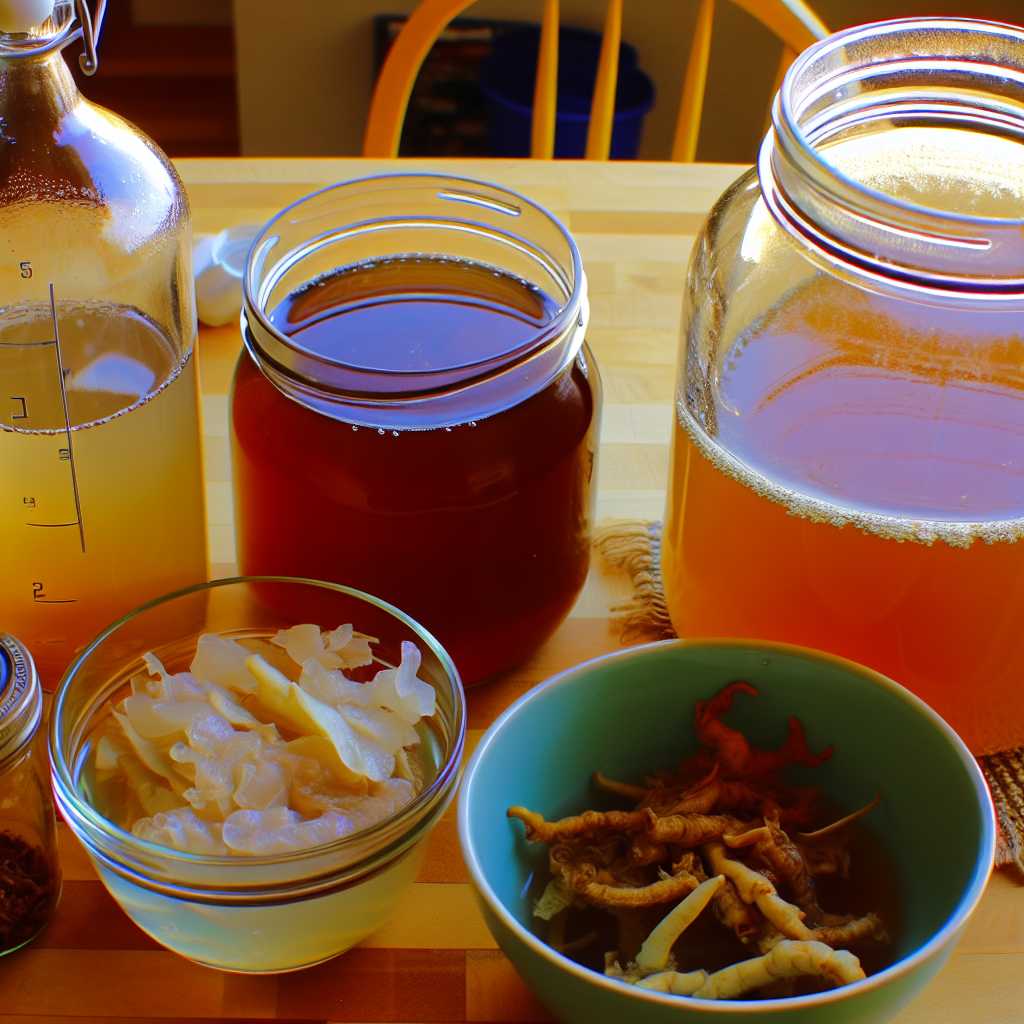
A Beginner’s Guide to Kombucha Brewing: The Step-by-Step Process

A Beginner’s Guide to Kombucha Brewing: The Step-by-Step Process
Kombucha is a fermented tea drink that has gained popularity in recent years due to its potential health benefits and unique taste. For those interested in trying their hand at brewing kombucha at home, this beginner’s guide will provide a step-by-step process for creating your own batch of this fizzy, probiotic-rich beverage.
Before we dive into the brewing process, let’s take a look at some of the basics of kombucha and its potential health benefits.
What is Kombucha?
Kombucha is a type of fermented tea that is made by adding a culture of bacteria and yeast, known as SCOBY (symbiotic culture of bacteria and yeast), to sweetened tea. The SCOBY ferments the tea over the course of a week or more, resulting in a tangy, slightly effervescent drink.
Health Benefits of Kombucha
While the research on the health benefits of kombucha is still ongoing, many people believe that this fermented tea may offer several potential health perks. These benefits include:
1. Probiotics: Kombucha is a natural source of probiotics, which are beneficial bacteria that are believed to support digestive health.
2. Antioxidants: The fermentation process of kombucha creates antioxidants, which are compounds that can help protect your body from damage caused by harmful molecules known as free radicals.
3. Potential immune-boosting properties: Some animal studies have suggested that certain compounds in kombucha may boost the immune system.
4. Improved energy: Due to its small amount of caffeine and B-vitamins, kombucha may provide an energy boost.
Now, let’s get into the step-by-step process of brewing kombucha at home.
Step 1: Gather Your Supplies
Before you begin brewing kombucha, you’ll need to gather the necessary supplies. Here’s what you’ll need:
1. A large glass jar (at least 1 gallon in size)
2. SCOBY (you can purchase this online or from a friend who brews their own kombucha)
3. Starter tea (kombucha from a previous batch)
4. Black or green tea bags
5. Sugar
6. A cloth or paper towel and a rubber band
7. Bottles for storing your finished kombucha
Step 2: Prepare Your Ingredients
Once you have all of your supplies, it’s time to prepare your ingredients. Start by boiling water and steeping the tea bags in the hot water. Then, remove the tea bags and stir in the sugar until it dissolves. Allow the sweetened tea to cool to room temperature.
Step 3: Combine Your Ingredients
Once the sweetened tea has cooled, pour it into the glass jar and add the starter tea. Gently place the SCOBY on top of the liquid. It’s normal for the SCOBY to float, sink, or even lay sideways – don’t worry, it will eventually find its place.
Step 4: Ferment Your Kombucha
Cover the mouth of the jar with a cloth or paper towel and secure it with a rubber band to keep out insects and debris while allowing airflow. Place the jar in a warm, dark place, such as a kitchen cabinet, and let it ferment for 7 to 10 days. The longer you let it ferment, the tangier and fizzier the final product will be.
Step 5: Taste Your Kombucha
After a week or so, it’s time to taste your kombucha to see if it’s ready. Use a straw to take a small sample from the edge of the jar. If it tastes too sweet, let it ferment for a few more days. If it’s too sour, you may want to let your next batch ferment for a shorter period of time.
Step 6: Bottle Your Kombucha
Once your kombucha has reached the desired level of tartness, it’s time to bottle it. Carefully remove the SCOBY from the jar and set it aside in a bowl with a bit of the kombucha liquid to keep it active.
Pour the finished kombucha into bottles using a funnel, leaving about an inch of headspace at the top of each bottle. This will allow room for carbonation to build up. You can also add fruit juice, ginger, or herbs to flavor your kombucha at this stage.
Step 7: Secondary Fermentation
Seal the bottles and let them sit at room temperature for an additional 3 to 5 days for a secondary fermentation. This will create carbonation in the kombucha. Keep in mind that the longer you let it sit, the fizzier it will become.
Step 8: Enjoy Your Homemade Kombucha
After the secondary fermentation, transfer the bottles to the refrigerator. Once chilled, your homemade kombucha is ready to drink. Remember to use caution when opening the bottles, as the carbonation can build up quite a bit of pressure.
In conclusion, brewing kombucha at home is a fun and rewarding process that can result in a delicious, healthful beverage. By following this step-by-step guide, you can create your own batch of kombucha and experiment with different flavors and brewing techniques. Whether you’re looking to add more probiotics to your diet or simply want to try something new, homemade kombucha is a great way to tap into the world of fermentation and create a beverage that suits your taste preferences.
For a final tip, be sure to clean your brewing equipment thoroughly between batches to prevent any unwanted bacteria from contaminating your kombucha. With a little patience and experimentation, you’ll be well on your way to becoming a kombucha brewing aficionado. Cheers to good health and happy brewing!
[elementor-template id=”430″]
[elementor-template id=”433″]


0 Comments