A Beginner’s Guide to Making Homemade Kombucha

A Beginner’s Guide to Making Homemade Kombucha
If you’re a fan of kombucha, you may have considered making your own at home. Kombucha is a fermented tea beverage that has gained popularity in recent years due to its potential health benefits and delicious taste. Making homemade kombucha can be a rewarding and fun experience, but it can also be intimidating for beginners. However, with the right tools, knowledge, and a little bit of patience, you can become a pro at brewing your own kombucha. In this article, we’ll provide a beginner’s guide to making homemade kombucha, covering everything from the equipment you need to the step-by-step process of brewing your own batch.
What is Kombucha?
Before we dive into the process of making kombucha, let’s start with a brief overview of what kombucha is. Kombucha is a fermented tea drink that is made by combining tea, sugar, and a symbiotic culture of bacteria and yeast (SCOBY). The fermentation process creates a slightly effervescent, tangy, and slightly sweet beverage that is enjoyed by many as a delicious and refreshing alternative to sugary sodas or alcoholic drinks. Kombucha is also said to have potential health benefits, including being rich in probiotics and antioxidants.
Equipment You’ll Need
Before you start brewing your own kombucha, you’ll need to gather the necessary equipment. Here are the basic items you’ll need to get started:
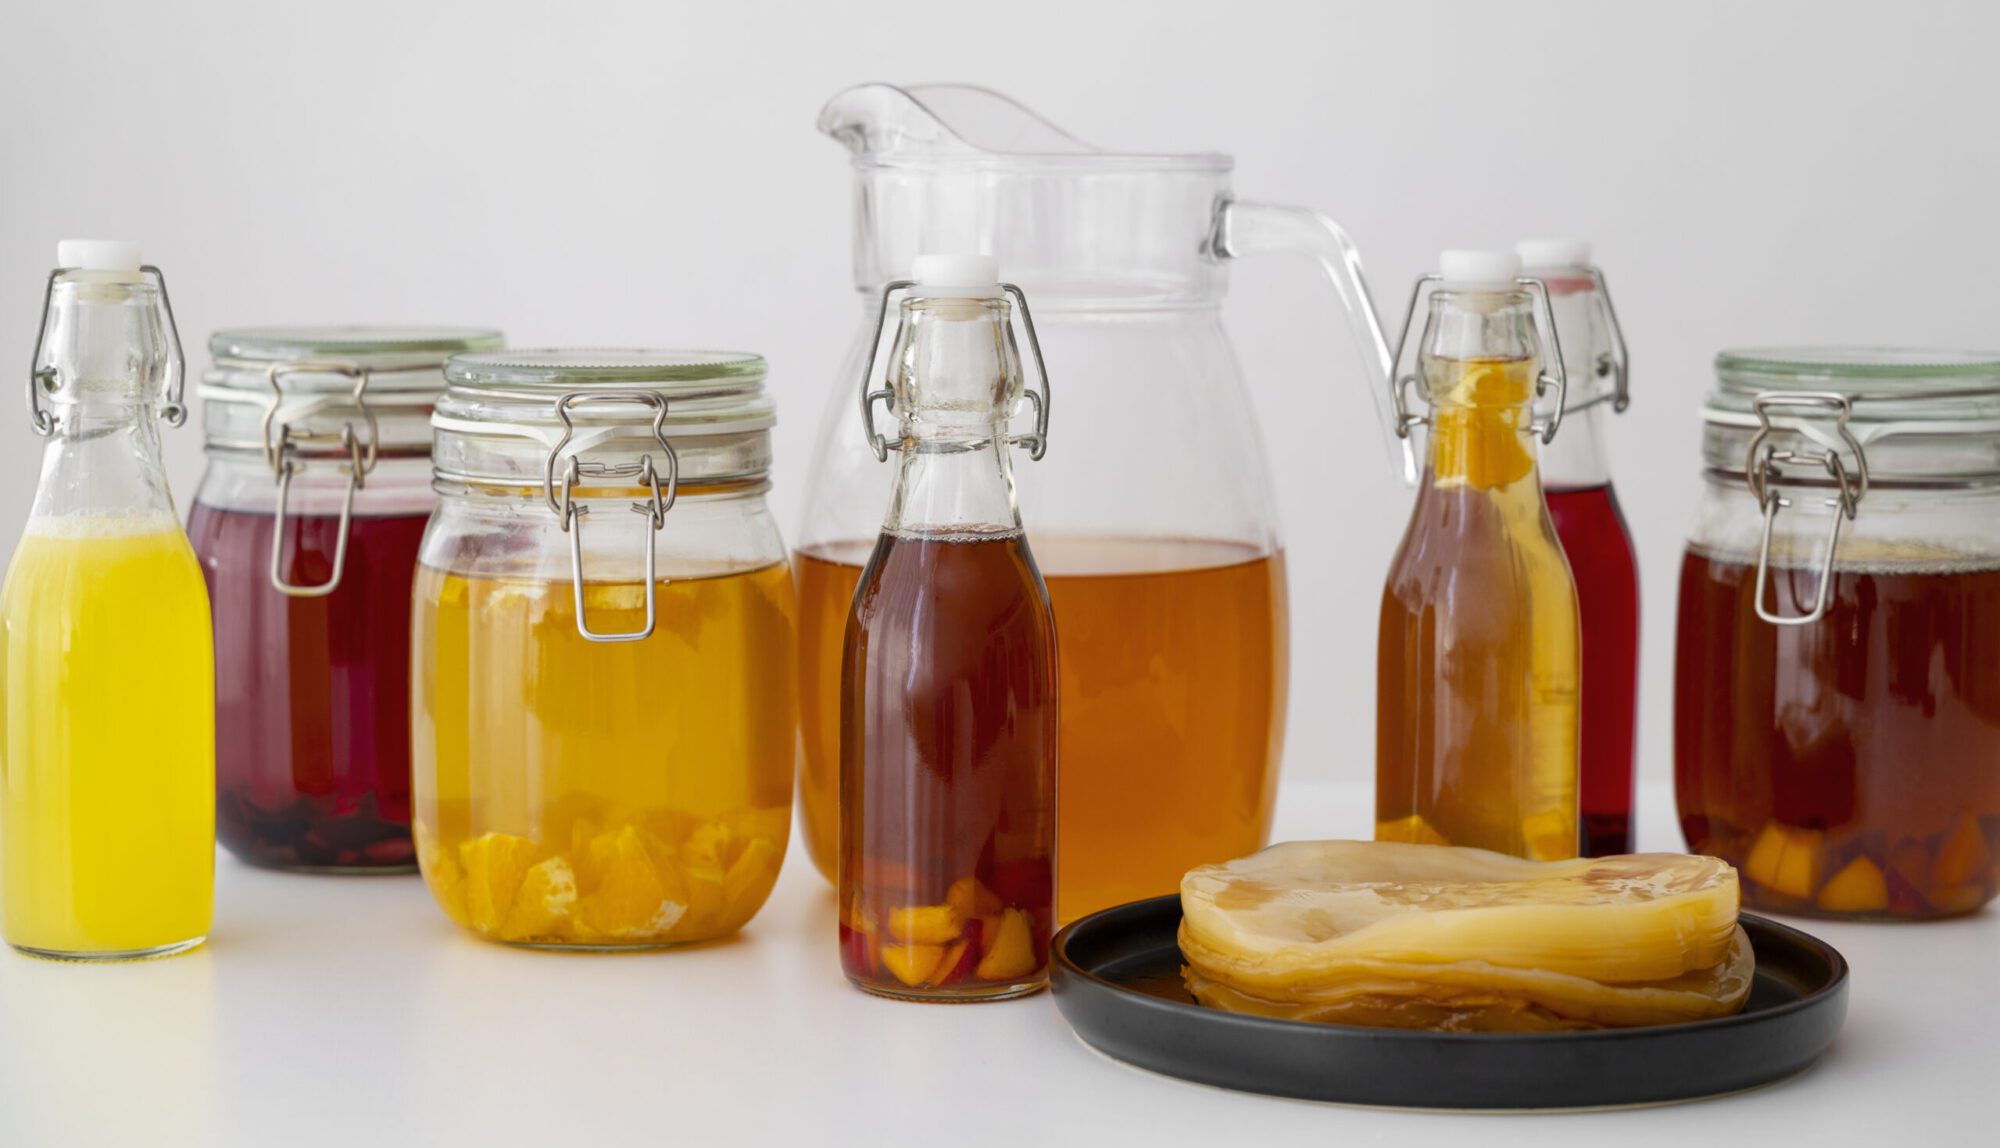
Glass jar: You’ll need a large glass jar to brew your kombucha in. A 1-gallon jar is a good size for beginners.
Tea: You’ll need black or green tea to brew your kombucha. You can use loose-leaf tea or tea bags.
Sugar: You’ll need granulated sugar to feed the yeast during the fermentation process.
SCOBY: You’ll need a SCOBY to start the fermentation process. You can either purchase a SCOBY online or get one from a friend who brews their own kombucha.
Starter liquid: You’ll need some starter liquid, which is already-fermented kombucha, to kickstart the fermentation process.
Cloth and rubber band: You’ll need a breathable cloth (like cheesecloth or a coffee filter) and a rubber band to cover your jar during fermentation.
pH Strips: You’ll need pH strips to test the pH level of your kombucha during the brewing process.
Bottles: Once your kombucha is ready to be bottled, you’ll need glass bottles with tight-fitting lids to store it in.
The Brewing Process
Now that you have all the necessary equipment, let’s walk through the step-by-step process of making your own kombucha.
Step 1: Prepare the Sweet Tea
To start the brewing process, you’ll need to prepare the sweet tea that will serve as the base for your kombucha. Bring 4 cups of water to a boil, then remove it from the heat. Add 4 tablespoons of loose-leaf tea or 4 tea bags to the hot water and let it steep for 5-7 minutes. Once the tea has steeped, remove the tea bags or strain out the loose-leaf tea, then stir in 1 cup of granulated sugar until it dissolves. Once the sweet tea has cooled to room temperature, transfer it to your glass jar.
Step 2: Add the SCOBY and Starter Liquid
Once the sweet tea has cooled, it’s time to add the SCOBY and starter liquid to the jar. Gently slide the SCOBY into the jar, then pour in the starter liquid. Cover the jar with a breathable cloth and secure it with a rubber band. Place the jar in a warm, dark area where it won’t be disturbed. The fermentation process will take anywhere from 7 to 14 days, depending on the temperature of your brewing space and your personal taste preferences.
Step 3: Monitor the Fermentation Process
During the fermentation process, it’s important to monitor the pH level of your kombucha to ensure that it’s fermenting properly. You can do this by dipping a pH strip into the liquid and checking the color against the chart that comes with the strips. You’ll want the pH level to be around 3.0-3.5, which indicates that the kombucha is ready to be bottled.
Step 4: Bottle and Flavor Your Kombucha
Once the fermentation process is complete, it’s time to bottle your kombucha. Using a funnel, pour the kombucha from the jar into glass bottles, leaving about an inch of space at the top of each bottle. If you’d like to flavor your kombucha, you can add fruit juice, fresh fruit, or herbs to the bottles before sealing them with tight-fitting lids. Let the bottled kombucha sit at room temperature for 2-3 days to allow it to carbonate, then transfer it to the refrigerator to stop the fermentation process.
Common Issues and Troubleshooting
As a beginner brewer, you may encounter some common issues when making homemade kombucha. Here are a few troubleshooting tips to keep in mind:
Mold: If you notice mold growing on the surface of your kombucha, discard the entire batch and start over with a new SCOBY and starter liquid. To prevent mold, make sure to keep your brewing area clean and sanitize your equipment thoroughly before brewing a new batch.
Funky Smells: If your kombucha has a funky or unpleasant smell, it may be an indication that the fermentation process has gone wrong. It’s best to discard the batch and start over.
Too Sour: If your kombucha tastes too sour, it may have over-fermented. To prevent this, taste your kombucha periodically during the fermentation process and bottle it once it reaches your desired level of tartness.
Conclusion
Making homemade kombucha is a fun and rewarding experience that allows you to craft your own delicious and healthy beverages. With the right equipment, knowledge, and patience, you can become a pro at brewing your own kombucha at home. Whether you’re looking to save money, reduce your environmental impact, or simply enjoy the process of crafting homemade goods, brewing your own kombucha is a great way to experiment with fermentation and enjoy a tasty, probiotic-rich beverage. So grab your glass jar, scoop of SCOBY, and bottle some delicious homemade kombucha today!
[elementor-template id=”430″]
[elementor-template id=”433″]


0 Comments