How to Make Kombucha with a Scoby: A Step-by-Step Guide

How to Make Kombucha with a Scoby: A Step-by-Step Guide
Kombucha, a fermented tea beverage known for its tangy flavor and probiotic properties, has gained popularity in recent years as a healthful alternative to sugary sodas and artificially flavored drinks. It’s also an excellent source of antioxidants and beneficial bacteria that promote gut health. While there are many store-bought options available, making your own kombucha at home can be a rewarding and cost-effective endeavor. In this step-by-step guide, we’ll walk you through the process of making kombucha with a scoby, also known as a symbiotic culture of bacteria and yeast, from scratch.
Step 1: Gather Your Supplies
Before you begin, it’s essential to gather all the necessary supplies for making kombucha with a scoby. You will need the following:
– A large glass jar (at least one gallon)
– A piece of clean, breathable cloth or paper towel
– A rubber band or string to secure the cloth over the jar
– 1 cup of white sugar
– 4-5 black tea bags
– 3 ½ quarts of water
– A kombucha scoby
– 1-2 cups of pre-made plain kombucha (store-bought or from a previous batch)
– A plastic or wooden stirring utensil
– Glass bottles or jars for bottling the finished kombucha
Step 2: Prepare the Tea Mixture
Start by boiling the water in a large pot. Once the water reaches a rolling boil, remove it from the heat and add the tea bags and sugar. Let the tea steep for about 10-15 minutes, then remove the tea bags and allow the sweetened tea mixture to cool to room temperature. It’s important to let the mixture cool completely before proceeding, as hot liquid can damage the kombucha scoby.
Step 3: Add the Kombucha Scoby
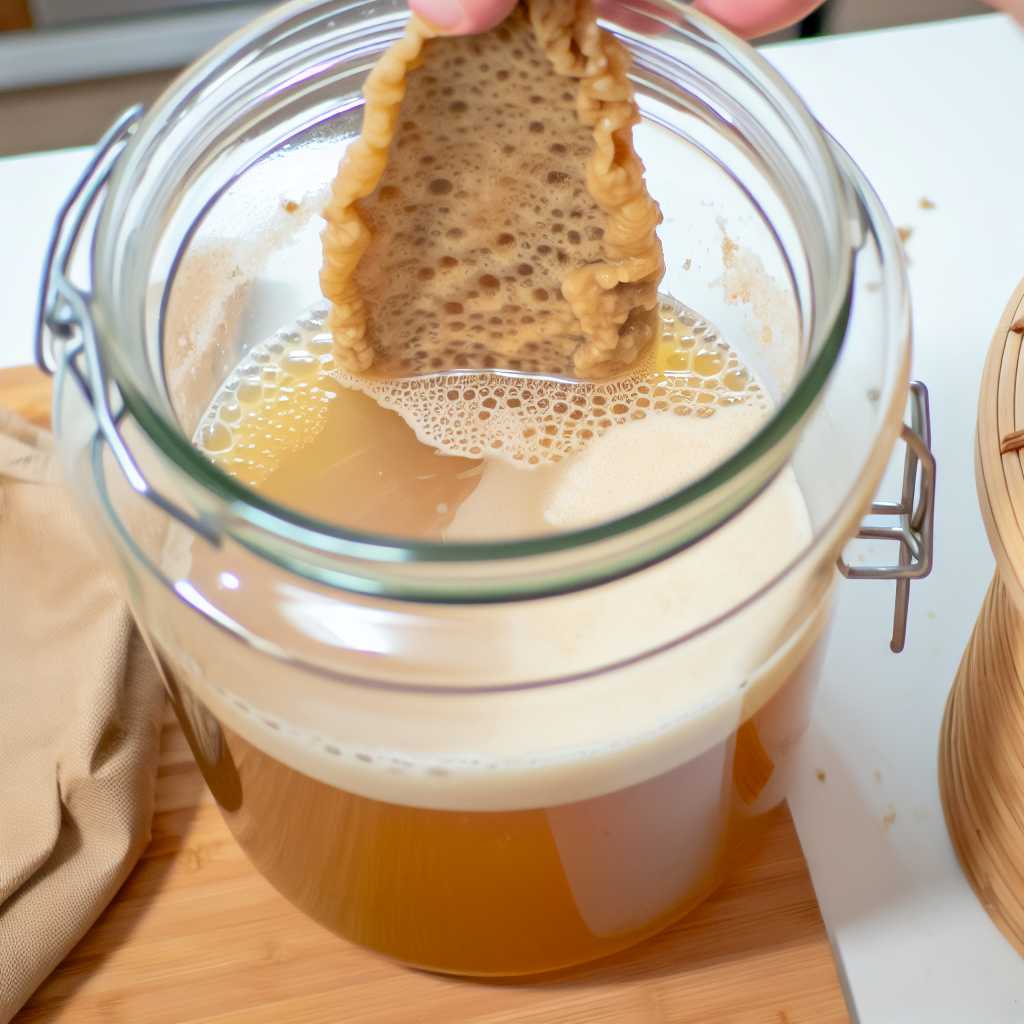
Once the tea mixture has cooled, pour it into the glass jar and add the pre-made kombucha. Gently place the kombucha scoby on top of the liquid, making sure it floats on the surface. Cover the jar with the breathable cloth or paper towel and secure it with a rubber band or string. This will allow air to flow in and out of the jar while preventing dust and debris from contaminating the brew.
Step 4: Fermentation Process
Now that your kombucha is in the jar, it’s time to let the fermentation process begin. Place the jar in a warm, dark place, such as a cupboard or pantry, and let it sit undisturbed for 7-10 days. During this time, the scoby will metabolize the sugar and tea, transforming the liquid into tangy, fizzy kombucha. It’s essential to taste the kombucha periodically to determine the optimal level of tartness and carbonation.
Step 5: Bottling the Kombucha
Once the kombucha has reached your desired level of flavor and effervescence, it’s time to bottle it for consumption. Carefully remove the scoby from the jar using clean hands or a utensil and set it aside. Next, pour the finished kombucha into glass bottles or jars, leaving about an inch of headspace at the top. This will allow for some expansion during the secondary fermentation process. You can also add fruit juice, herbs, or spices to flavor the kombucha at this stage.
Step 6: Secondary Fermentation
Seal the bottles or jars tightly and place them in a warm, dark place for an additional 3-5 days to carbonate and develop more complex flavors. Keep in mind that the carbonation process can be unpredictable, so it’s crucial to “burp” the bottles periodically to release excess pressure and prevent explosions. Once the kombucha has reached the desired level of carbonation, transfer the bottles to the refrigerator to halt the fermentation process and chill the beverage.
Step 7: Enjoy Your Homemade Kombucha
Congratulations, you’ve successfully made your own kombucha with a scoby! Now it’s time to sit back, relax, and savor the fruits of your labor. Pour yourself a glass of the effervescent elixir and relish in the tangy, probiotic goodness that you’ve created. You can also save a portion of the finished kombucha and a piece of the scoby to use as starter for your next batch.
In conclusion, making kombucha with a scoby at home is a simple and rewarding process that allows you to enjoy a delicious, healthful beverage while saving money and reducing waste. By following this step-by-step guide, you can embark on a journey to becoming a master kombucha brewer and share the love of homemade probiotic goodness with friends and family. So gather your supplies, brew up a batch of kombucha, and toast to your newfound skills as a kombucha connoisseur. Cheers to your health and happiness!
[elementor-template id=”430″]
[elementor-template id=”433″]


0 Comments